
Hello! Today, we are diving into Visual Studio Code (VS Code), the wildly popular code editor beloved by programmers. This guide covers installation and basic usage.
What Is VS Code?
VS Code is a free, open-source code editor developed by Microsoft. Lightweight yet feature-rich, it supports numerous programming languages and a vast ecosystem of extensions for customization.
Installing VS Code
Step 1: Download
Visit the official VS Code website and download the installer for your operating system (Windows, Mac, or Linux).
https://code.visualstudio.com/
Step 2: Install
Open the downloaded installer and follow the prompts. No special configuration is needed. If you see an “Add to PATH” option, check it — it will be useful later.
Step 3: Launch and Initial Setup
Open VS Code after installation. Configure basic settings like theme and font to your preference.
Basic Usage
Opening a Project
Go to File > Open Folder and select your project folder.
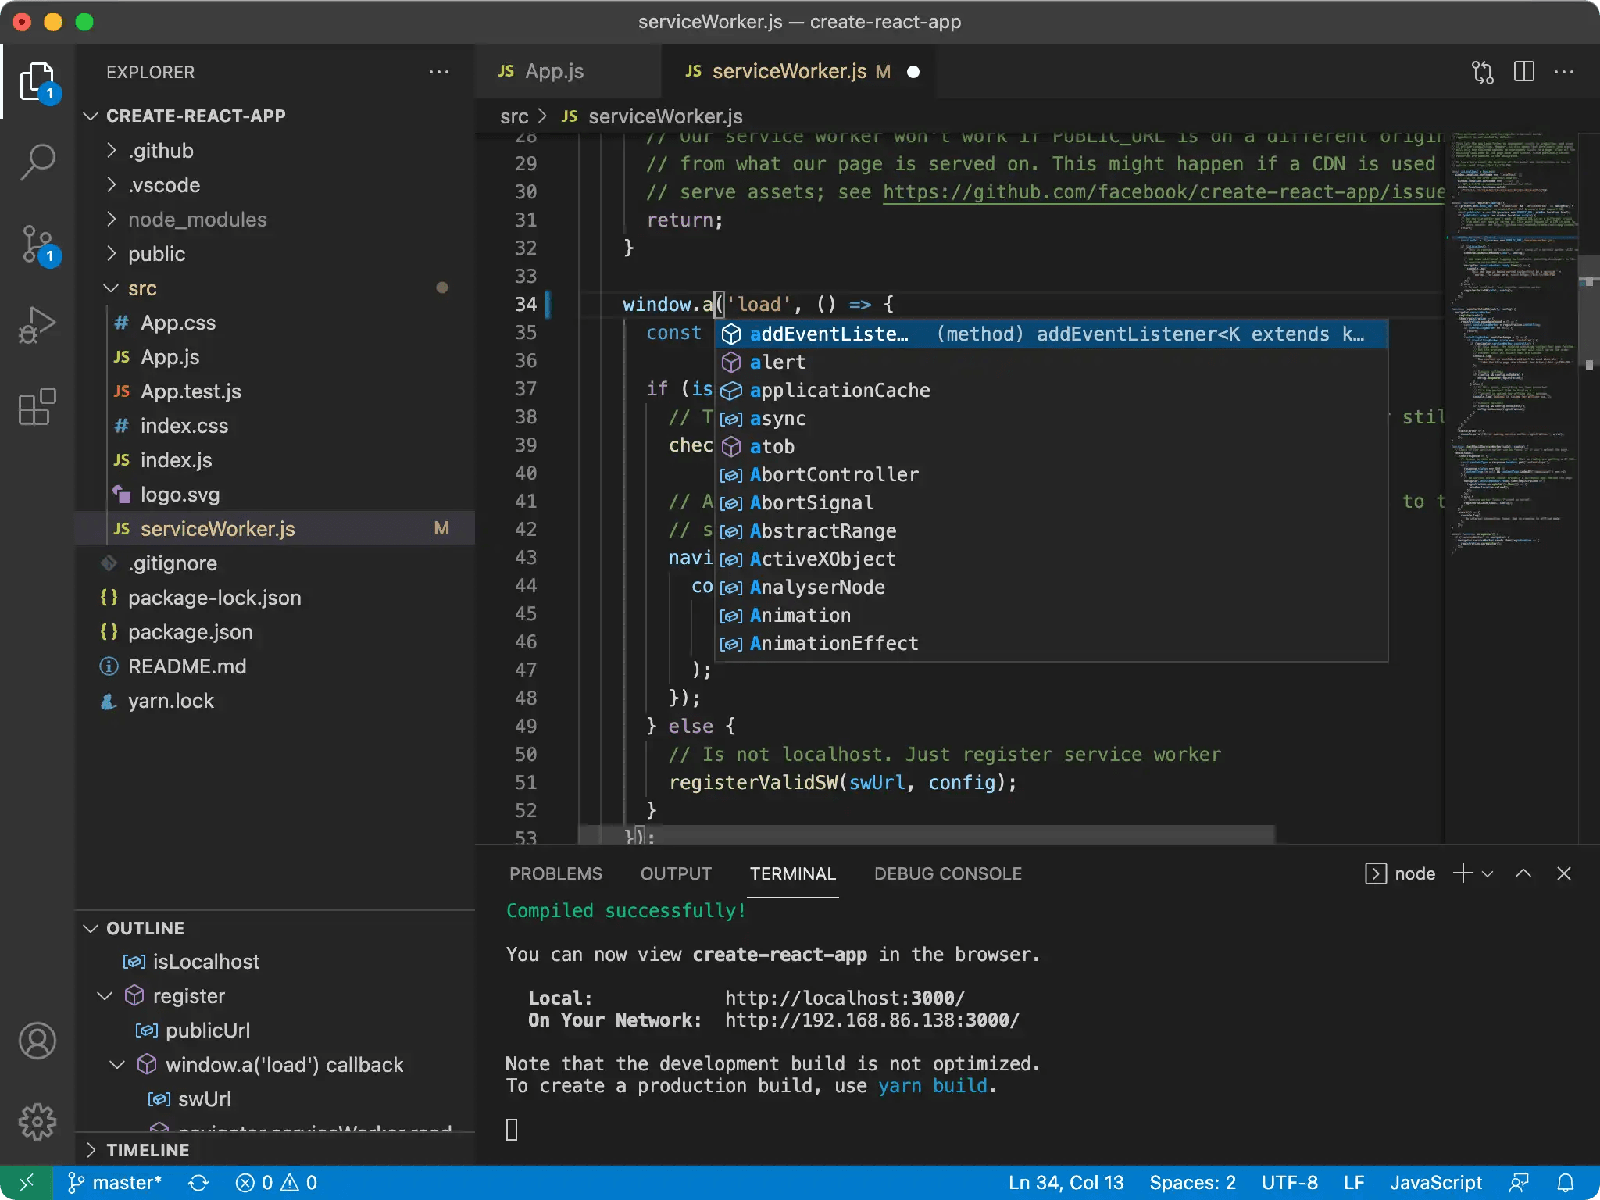
Editing and Saving Files
Click a file in the folder to open it in the editor. Edit text and press Ctrl+S (Cmd+S on Mac) to save.
Running Code
With the right extensions, you can run code directly. For Python, install the Python extension and click the “Run” button in the top right.
Using Extensions
Extensions are one of VS Code’s biggest strengths. Click the Extensions icon on the left sidebar, search for what you need, and click “Install.”
Useful Keyboard Shortcuts
- Ctrl+P (Cmd+P on Mac): Quick file open
- Ctrl+Shift+P (Cmd+Shift+P): Open command palette
- Ctrl+/ (Cmd+/
Summary
VS Code is a versatile editor suitable for beginners and advanced users alike. Its customizability and extensive extension ecosystem make it a top choice for programmers worldwide. Give it a try today!